Background
The E57 file format is a standardized point cloud format that not only stores the 3D spatial information but other metadata such as calibrated images, laser source or scan positions, etc. Since it is a vendor neutral format it is widely used as to export an entire terrestrial static LiDAR project. For more information visit the ASTM Committee E57 page.
TopoDOT introduced the use of E57 format data in its version 6.0. This document shows step by step how to:
- Convert to DOT format
- Optimize for visualization
- Create a project file from an E57 file or DOT files in TopoDOT
- Load aerial images (optional if project is georeferenced)
- Load scan data from scan positions icons
- Load Images from an E57 file if any
For more information about the individual tools please visit TopoDOT University (log in required)
How to use an E57 file in TopoDOT
Steps 1 – 5: Converting E57 file to DOT format
TopoDOT’s DOT file format allows for better loading speed over E57 files. The conversion to DOT is optional, however. If you wish to still use the E57 file, skip to step 9.
- Convert the E57 file into DOT using the tool “Convert LiDAR Project to DOT” in the Point Cloud Project Manager Toolbox.
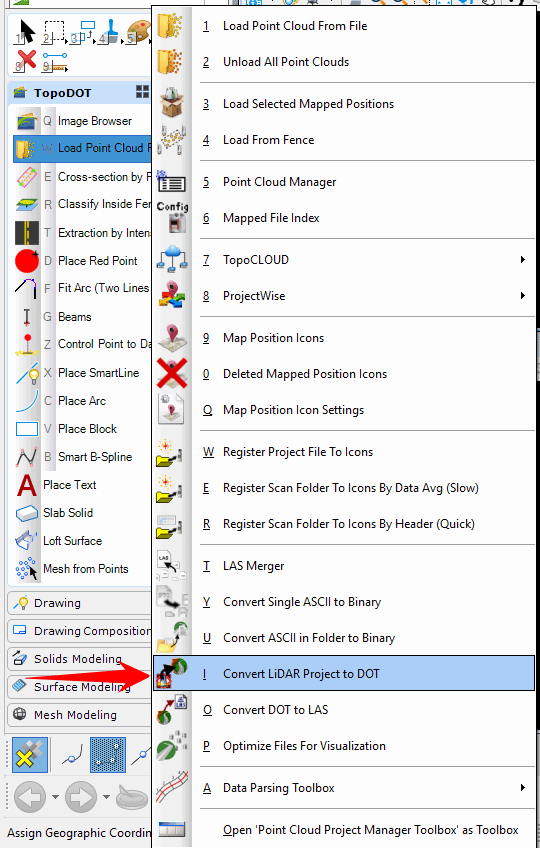
- Select the E57 file.
- Click Yes if you have additional E57 files or No if this is the only E57 file you wish to convert.
- Select Yes if you’d like to exclude the points after a certain distance around the scan position (not recommended for linear corridors).
- Select or Create the folder where the new DOT files will be stored.
Steps 6 – 8: Optimizing DOT files for visualization
- Select “Optimize Files in Folder for Visualization” tool in the Point Cloud Manager Toolbox.
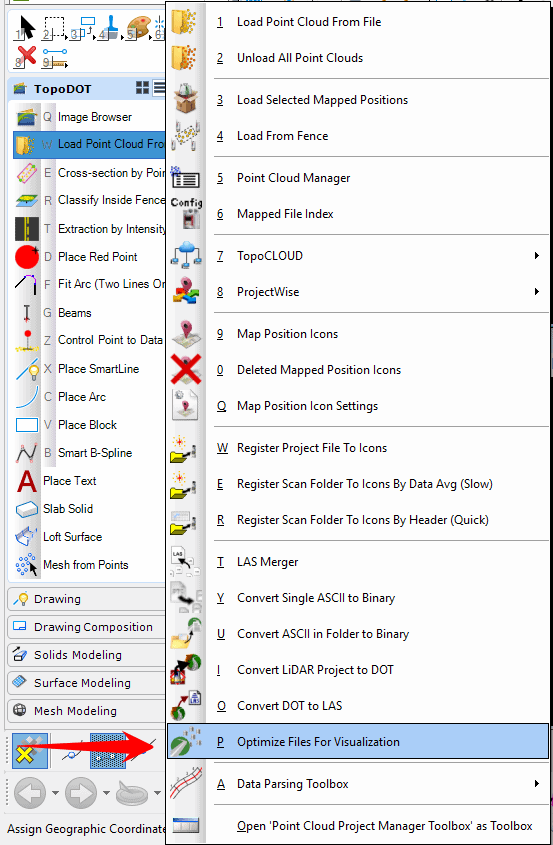
- Click “Browse for folder” and select the folder where your DOT files you wish to be converted are stored.
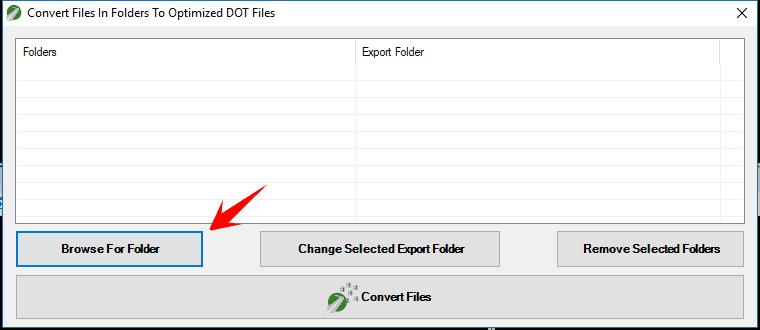
- Select Convert Files
Steps 9 – 14: Mapping the files to load
Start at Step 9 for E57 Files or Step 12 for DOT files.
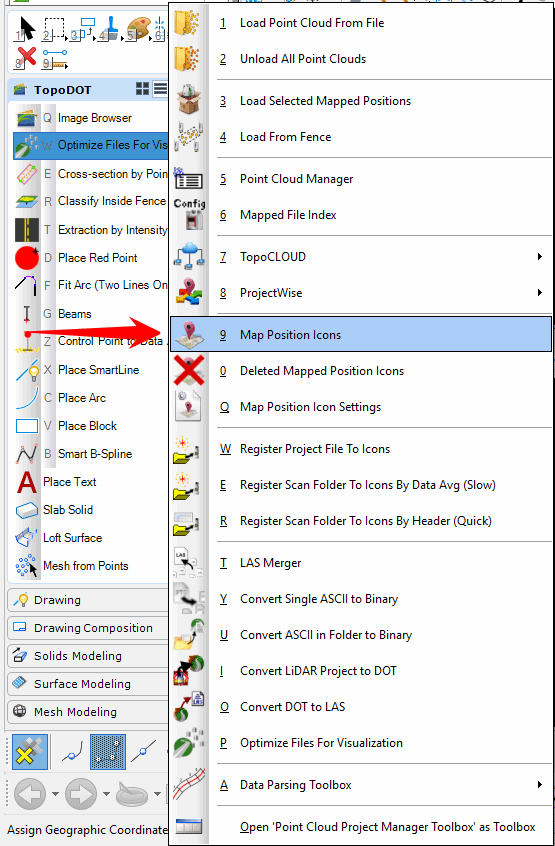
- If mapping the E57 file(s), select the “Register Project File to Icons” tool in the Point Cloud Manager Toolbox.
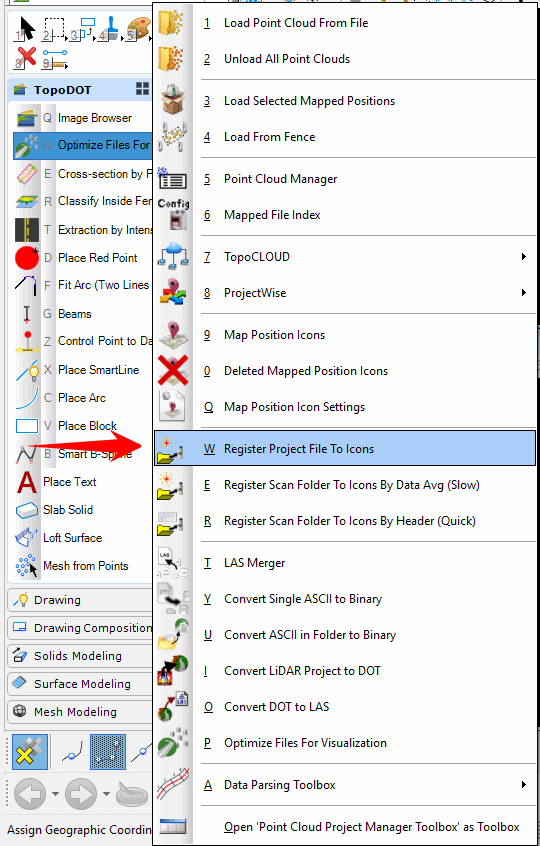
- Select the E57 project file(s).
- The tool will then prompt you to create a TVW file (map of the scan origins). Save it anywhere in the project folder.
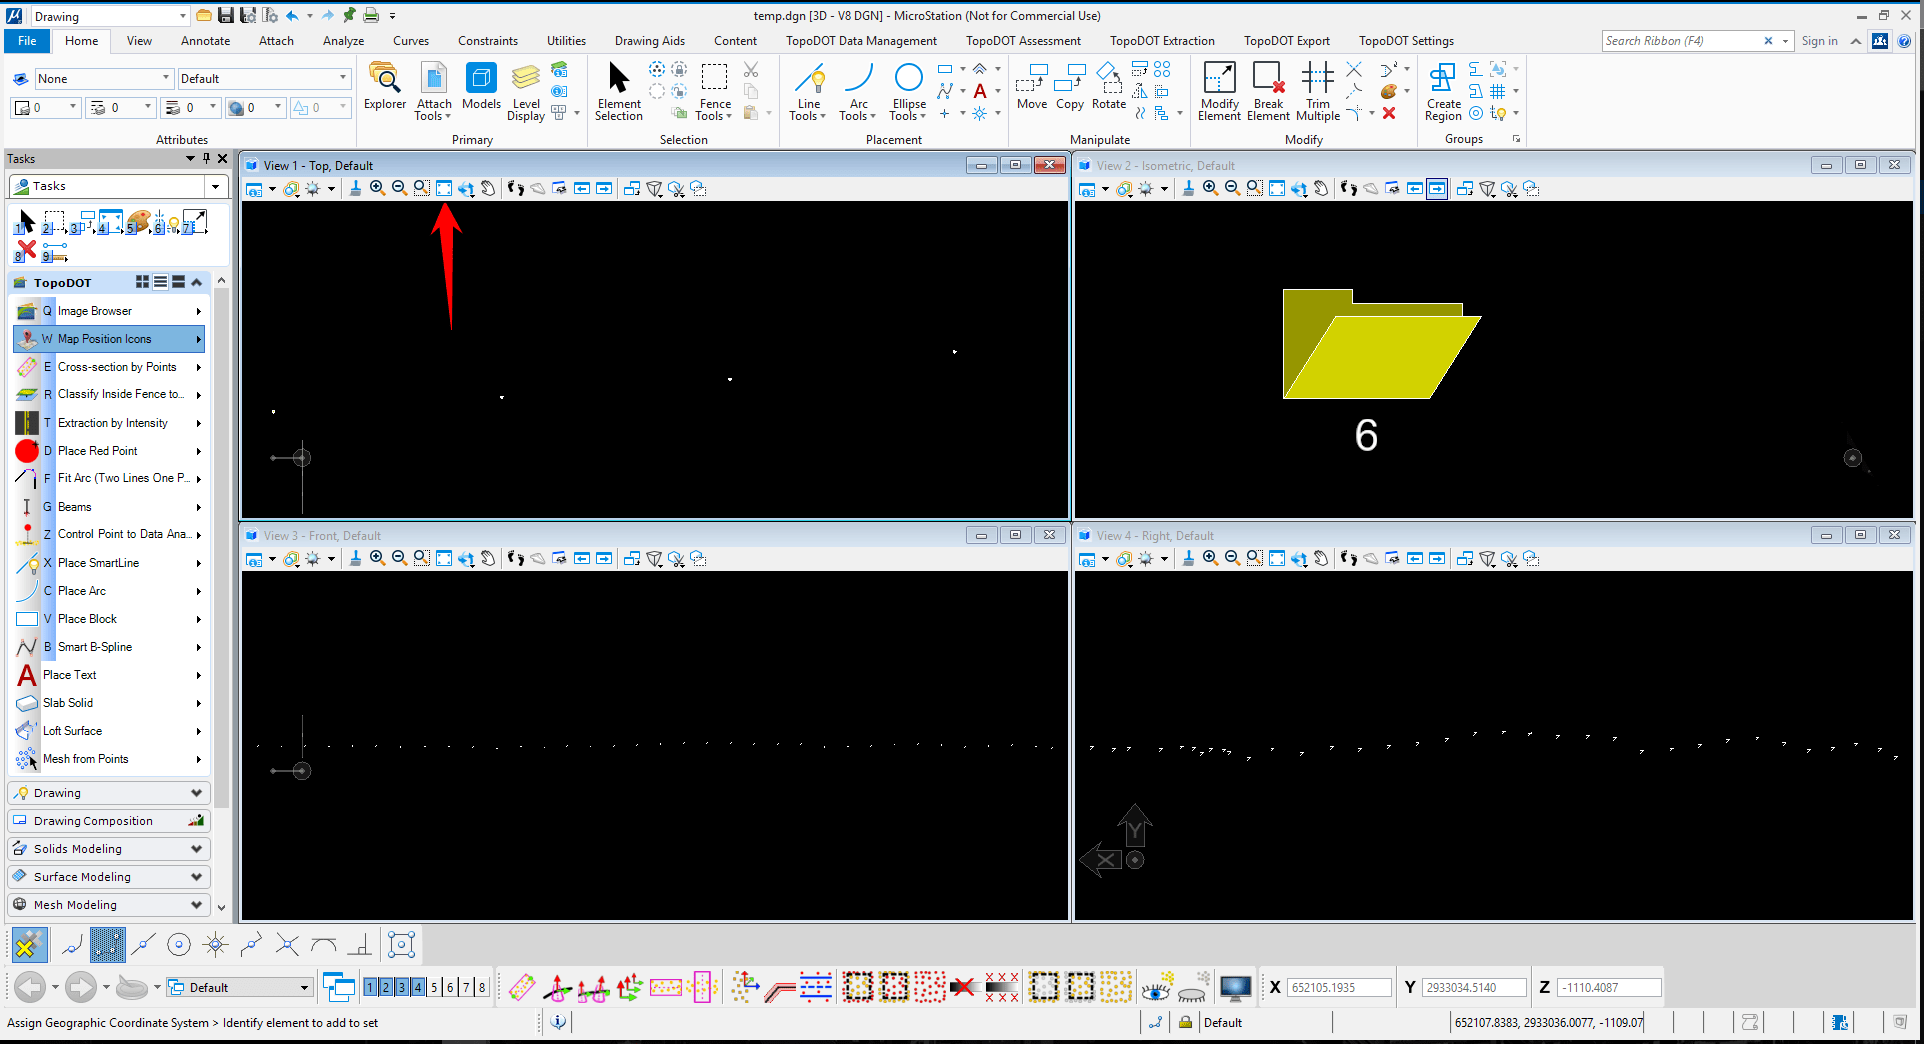
- Use the “Map Position Icons” tool in the Point Cloud Manager Toolbox to map the TVW file.
- Locate the TVW file in the project folder.
- Fit the view to see the icons that represent each scan origin.
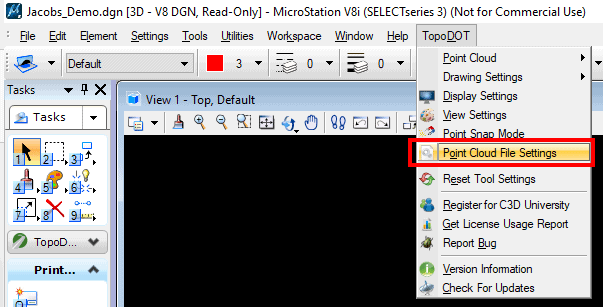
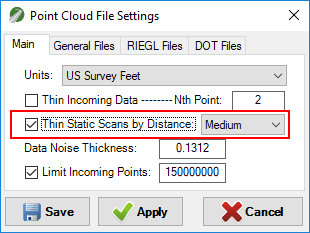
- It is recommended that you enable “Thin Static Scans by Distance” in your Point Cloud File Settings
- In MicroStation V8i:
- In MicroStation Connect:

- In MicroStation V8i:
Step 16 – 21: Load aerial Images (if project is georeferenced)
Once the positions are mapped, you can use an aerial image to view the scanned site.
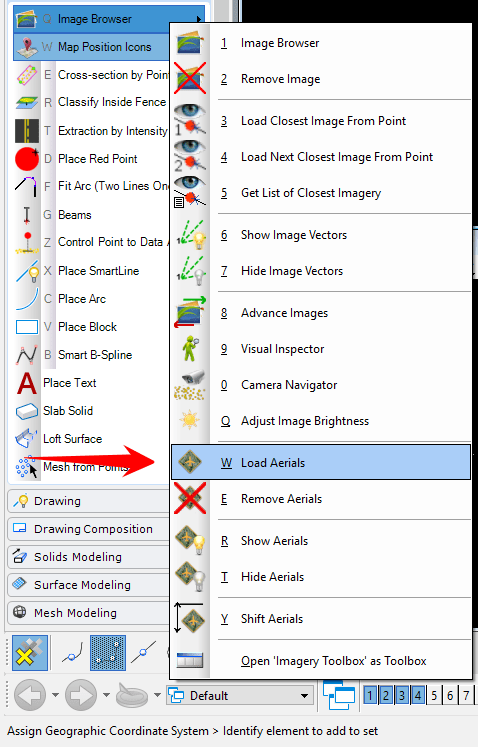
- Open the Imagery Toolbox and select “Load Aerials”.
- Select the coordinate system that your project is located in.
- In MicroStation V8i:
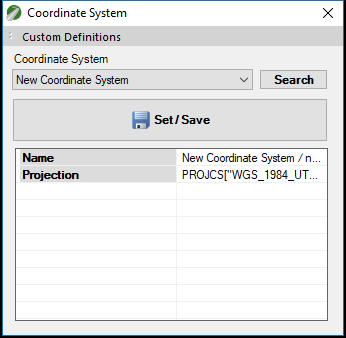
- Select from the predefined state plane or UTM coordinate systems or if using a custom coordinate system, you can define your own by clicking “Custom Definitions” in the window and plugging in your own values.
- In MicroStation Connect:
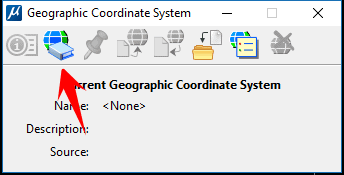
- Prompting TopoAerial to load should open up MicroStation’s “Coordinate System” toolbox. If not, in the MicroStation ribbon, search for “Coordinate System”, open the MicroStation Coordinate System tool and select a coordinate system from their internal library.
- In MicroStation V8i:
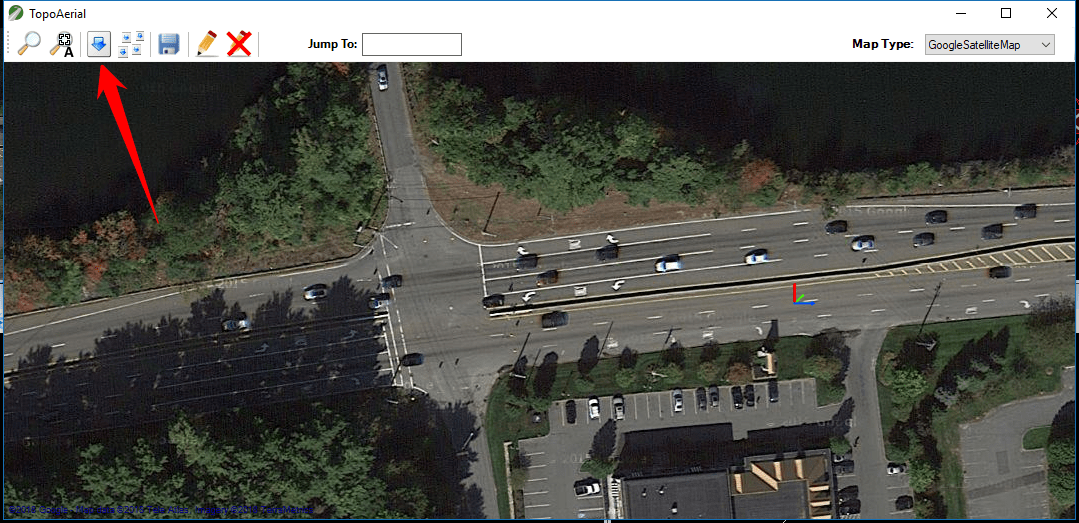
- TopoAerial will mark and approximate place for the site with a small ACS triad icon.

- Click on the magnifying glass icon to zoom into the project site if not done so for you automatically.
- Locate the area of interest by zooming in and out with the mouse wheel and panning with left click. Once you have the area of interest within your viewport, click on the white page with blue down arrow icon to pull that image into your TopoDOT environment.
- You should now see the aerial image within your MicroStation top view (view 1)
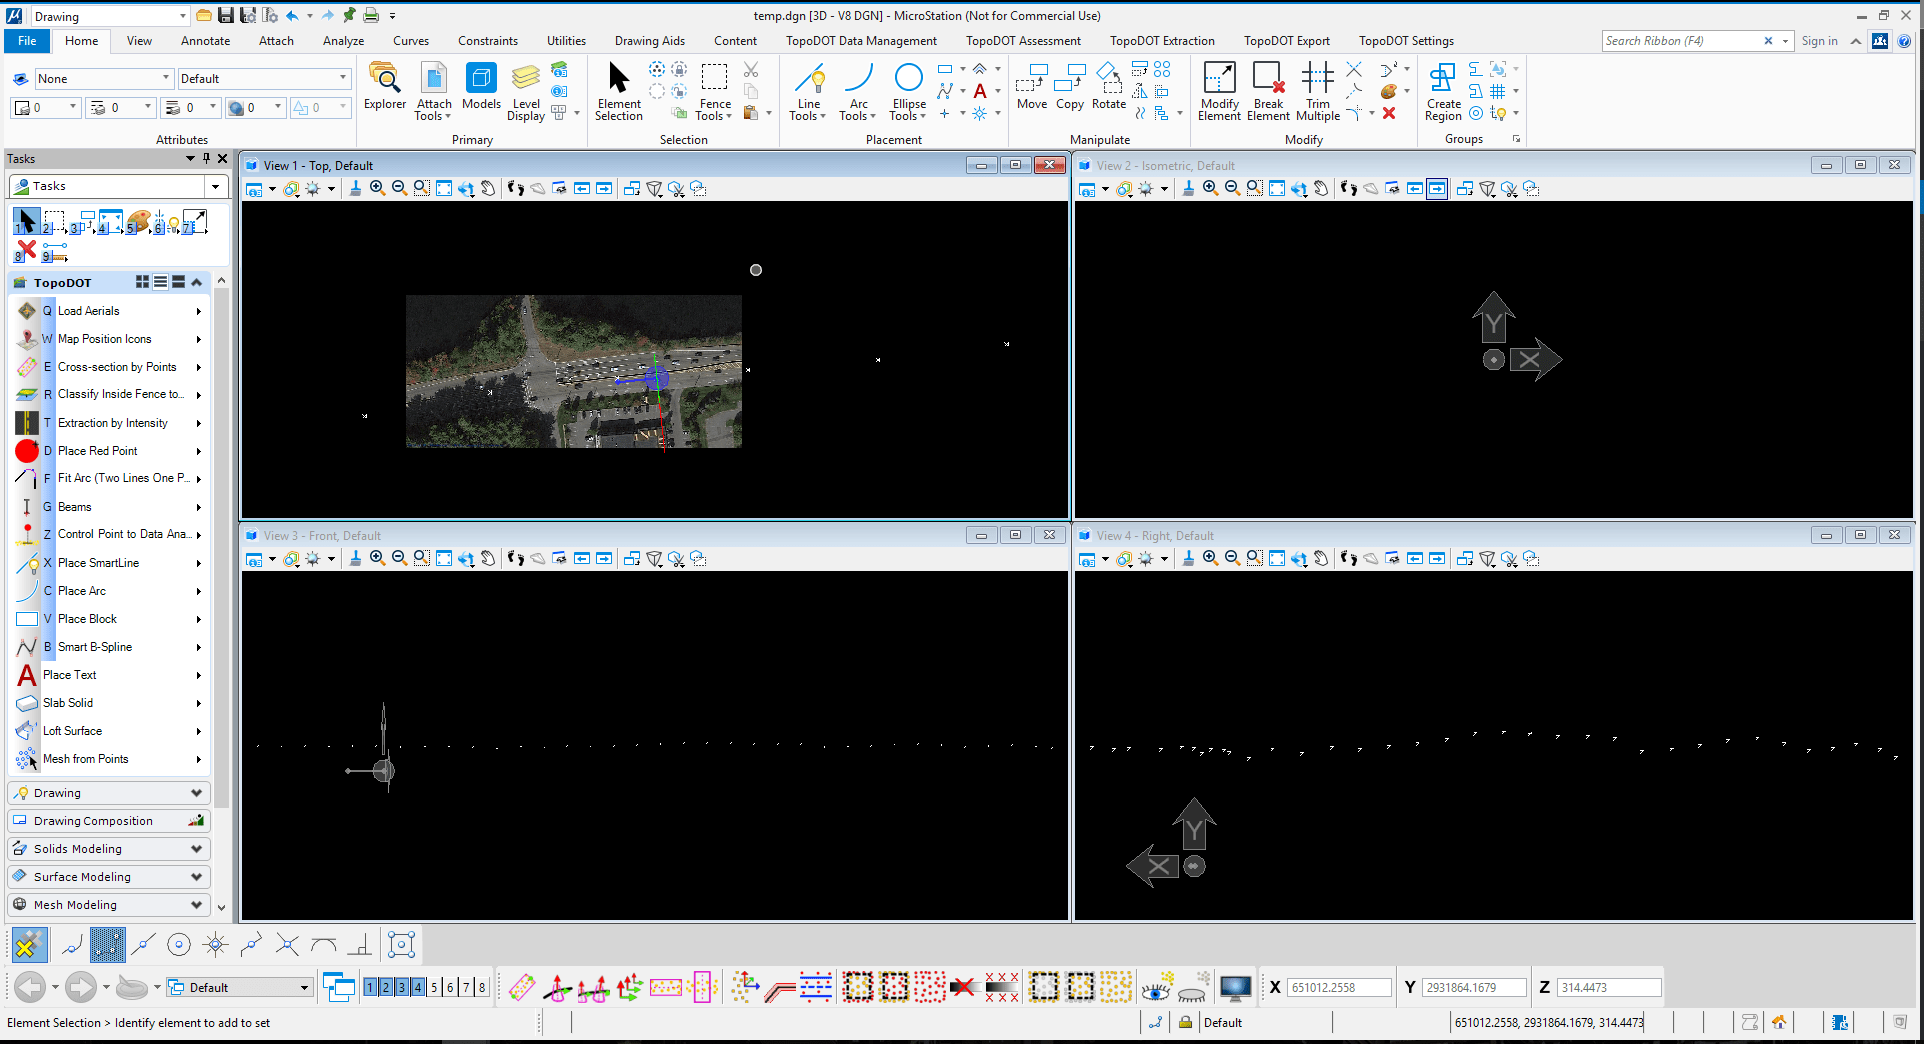
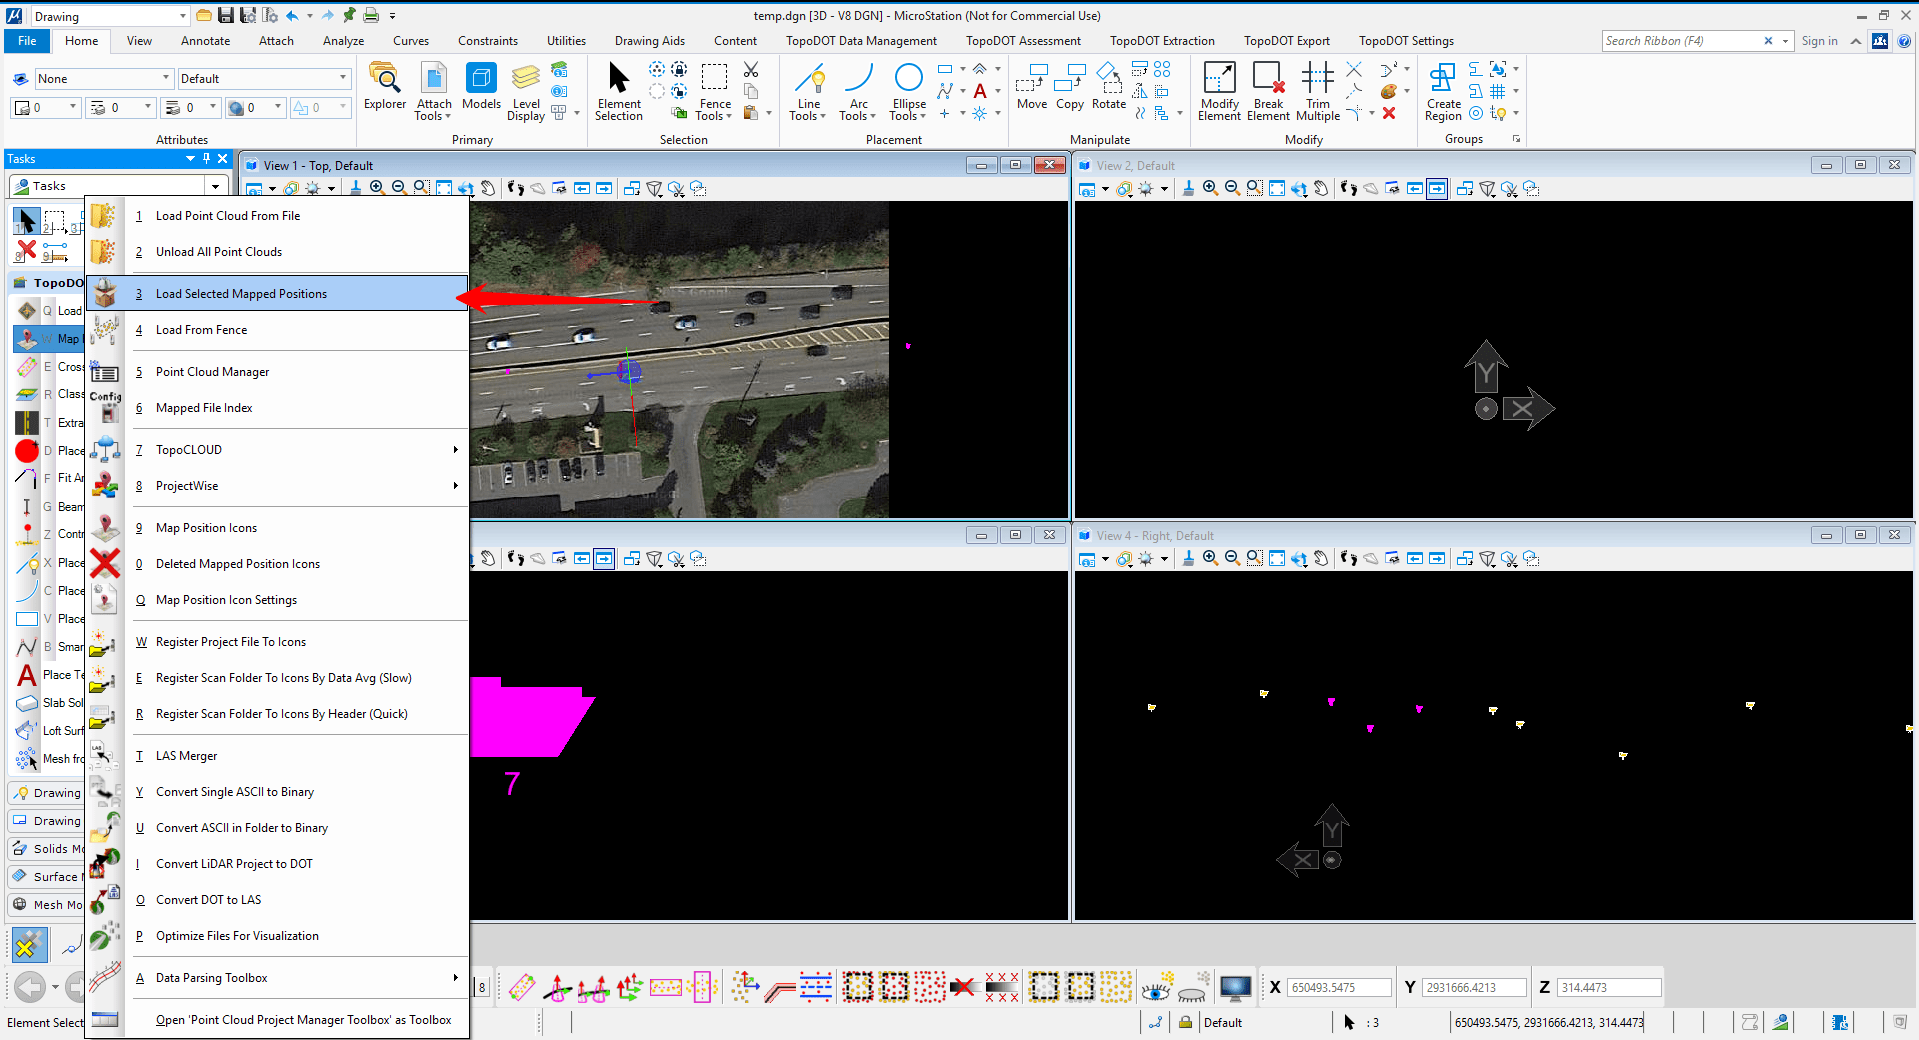
Steps 22 – 23: Load scan data from scan position icons
- Select the icon(s) you wish to load and select the “Load Selected Map Positions” tool from the Point Cloud Manager Toolbox.
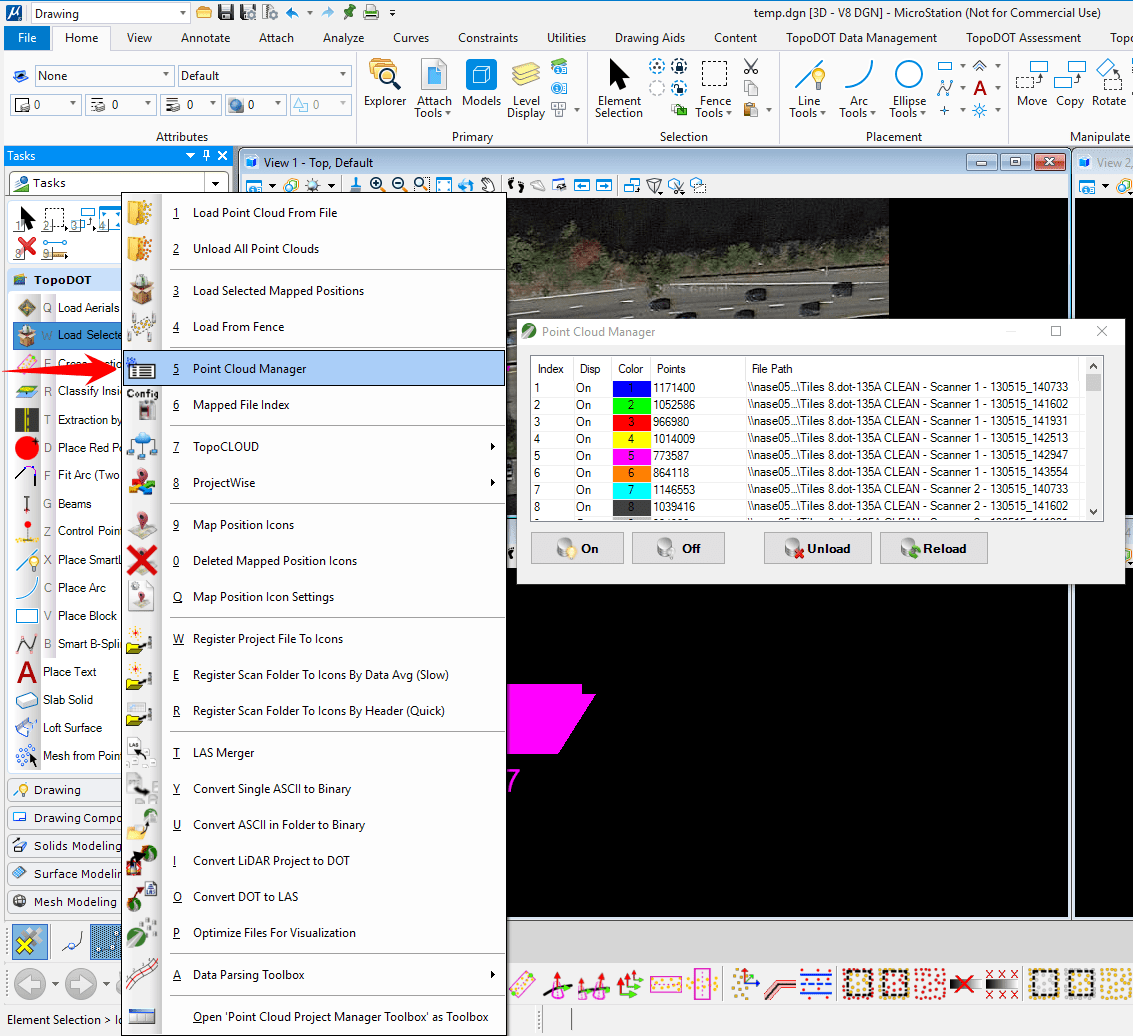
- Use the “Point Cloud Manager” tool in the Point Cloud Manager Toolbox to manipulate the loaded positions.
Steps 24 – 28: Load calibrated images from an E57 file
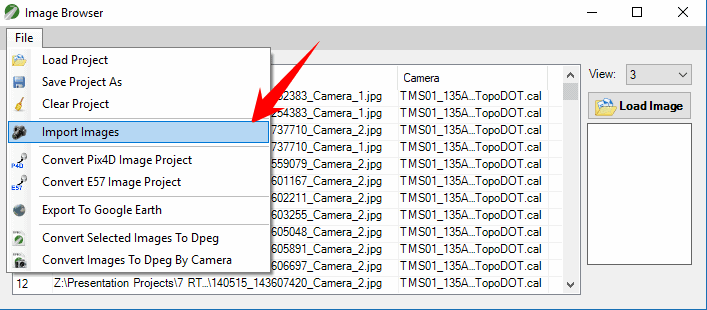
- Go to the Imagery Toolbox and select the “Image Browser” tool.

- In the “Image Browser” tool, go to File > Import Images
- Select the E57 file. If the file has images, it will populate them into this list. If the file does not have images, or is having trouble loading the images, you will know by looking at the TopoDOT debug command window.
- Close the Image Browser. Load in images by using the “Load Closest Image From Point”, “Load Next Closest Image From Point”, and/or the “Get List of Closest Imagery” tools.
- Click on a point to load the image from. If you are not selecting a point in a cross section, be sure to snap onto an element or the point cloud by using the control + click method. Failure to do so will usually give you an image at one of the edges of your project, if anything at all. For example, if a point is selected from top view without snapping onto anything, the tool has no perception of what depth to select the coordinate, so it can be any arbitrary depth and not give you the result you are looking for.
1 Comment
How To Use LiDAR: Applications and Processing Tips · October 30, 2019 at 2:37 PM
[…] good vendor-neutral file format is the E57 format. E57 format data is compatible with TopoDOT and most other software, and you can optimize it for improved visualization. Choose a Storage […]